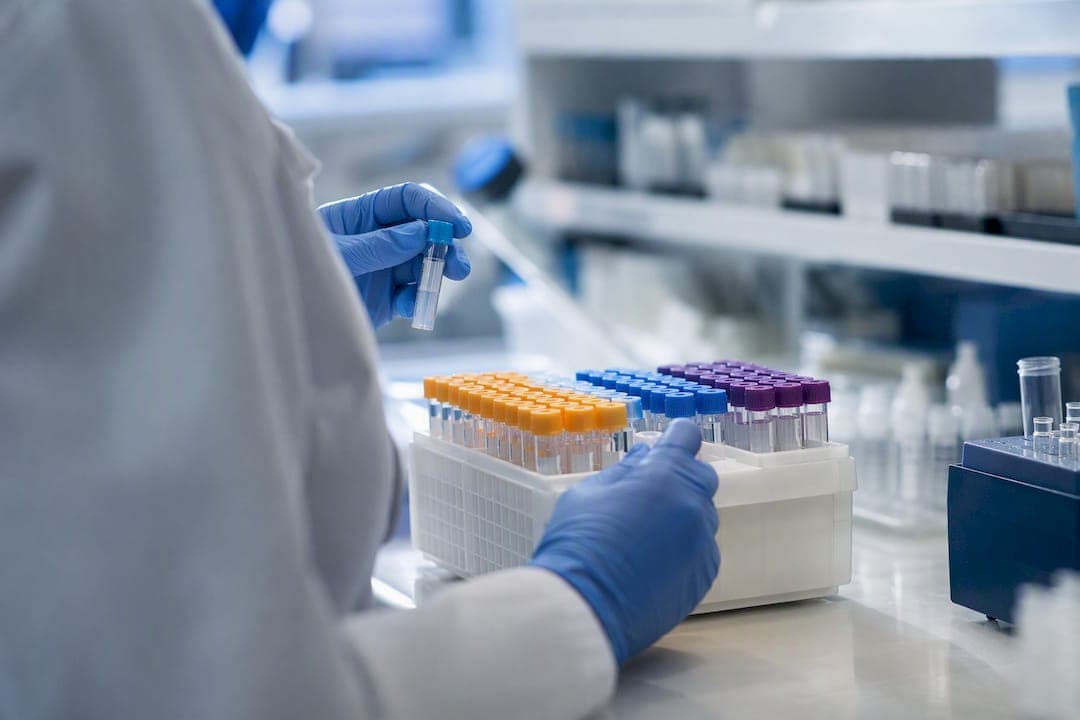
Sample management is the set of procedures a lab uses to register, label, track, store, and eventually dispose of every specimen, along with the metadata that connects it to a person, a test, and a result. The single biggest lever a lab has right now is accessioning: assign every sample a unique identifier at intake, enforce a written SOP for that intake step, and back it with a LIMS rather than a spreadsheet or a paper log.
That one change produces immediate, measurable wins:
- Full traceability from collection to disposal
- Fewer transcription and relabeling errors at handoff points
- Faster audit response when a regulator or client asks for chain-of-custody proof
- Less staff time spent hunting for misplaced tubes
Pro Tip: If you do nothing else this quarter, retire any workflow that still relies on handwritten labels or shared spreadsheets for sample IDs. That single fix closes the most common failure point labs report.
Key Takeaways
Reliable sample management depends on unique-ID accessioning, enforced SOPs, durable point-of-collection labeling, and a LIMS that tracks lineage and location without manual re-entry.
| Point | Details |
|---|---|
| Start with accessioning | Assign unique IDs at intake and enforce a written SOP before scaling volume. |
| Fix labels before freezers | Choose cryo-compatible labels and printers at procurement, not after failures appear. |
| Track lineage, not just location | Record parent-child aliquot relationships and freeze/thaw cycles for every split. |
| Monitor five KPIs monthly | Watch sample loss rate, accession TAT, rejection rate, freezer utilization, and audit findings. |
| Consider a connected LIMS | Labrynix ties accessioning, lineage, storage, and PGx reporting into one auditable workflow. |
Table of Contents
- Why Sample Management Failures Cost More Than They Look Like
- What Are the Core Principles of Reliable Sample Management?
- What Happens at Each Stage of the Sample Lifecycle?
- Should You Use a Single-Tube or Multi-Vial Tracking Model?
- How Do You Roll Out a New Sample Management System?
- What Are the Most Common Sample Management Pitfalls?
- How Labrynix Supports Sample Management for Genetic and Molecular Labs
- Frequently Asked Questions
- Sources
Why Sample Management Failures Cost More Than They Look Like
Mislabeling is the largest avoidable error in laboratory operations, and it rarely announces itself until a result comes back wrong or a sample can't be located during an audit. Lost or misplaced specimens, chain-of-custody gaps, and ambiguous short IDs create a chain reaction that starts small and ends expensive.
The operational damage shows up as repeat collections, wasted reagents, and hours of staff time spent reconciling logs that never should have diverged in the first place. The clinical and research damage runs deeper: irreproducible results, decisions made on the wrong specimen, and regulatory exposure when documentation can't answer where a sample was at 2 a.m. on a Tuesday.
Common failure modes worth auditing for right now:
- Mislabeling at collection or handoff
- Misplaced or lost samples in storage
- Broken chain-of-custody documentation
- Duplicate or reused short IDs that collide across cohorts
Sample management sits inside a lab's broader quality management system, and the World Health Organization treats intake, labeling, storage, and disposal as process-control checkpoints rather than clerical steps. Treat them as anything less, and the downstream cost lands on your turnaround time and your credibility.
What Are the Core Principles of Reliable Sample Management?
Every reliable system rests on five habits, and they work in sequence, not isolation.
- Register every sample with a unique identifier. Avoid short, ambiguous codes that can collide across batches or years; a globally unique ID (GUID) prevents future data rot and simplifies sharing with outside partners, according to the SLAS Sample Management Special Interest Group.
- Maintain SOPs and a laboratory handbook that collection sites can actually access, not one buried in a shared drive nobody opens.
- Use durable labels and barcode or QR scanning at the point of collection, before the sample ever reaches the bench.
- Define aliquoting and lineage rules up front, including who can split a sample, how volumes get recorded, and how freeze/thaw cycles are logged.
- Set explicit rejection criteria for pre-analytical failures, hemolysis, insufficient volume, wrong tube type, so front-line staff aren't guessing.
Pro Tip: Write your rejection criteria before you need them. A lab that improvises rejection rules mid-crisis usually ends up inconsistent, and inconsistency is what auditors flag first.
An accessible handbook distributed to every collection site measurably reduces pre-analytical errors, largely because staff stop improvising when a documented answer exists.
What Happens at Each Stage of the Sample Lifecycle?
Every sample moves through six phases, and each one has a minimum data set that should never be skipped.
Intake and accessioning requires a sample ID, source, collection date and time, collector identity, and the specific test requested. Check container integrity and volume sufficiency immediately, not after the sample has already been shelved.
Labeling and container choice depends on where the sample is going. A tube headed for a minus-80 freezer needs a cryo-compatible label and printer selected at procurement time, not discovered after labels start peeling off in liquid nitrogen.
Processing and aliquoting needs a recorded lineage: parent sample, child aliquots, volumes removed, and who performed the split. Skipping this step is how labs lose the ability to answer "which aliquot was this from" six months later.
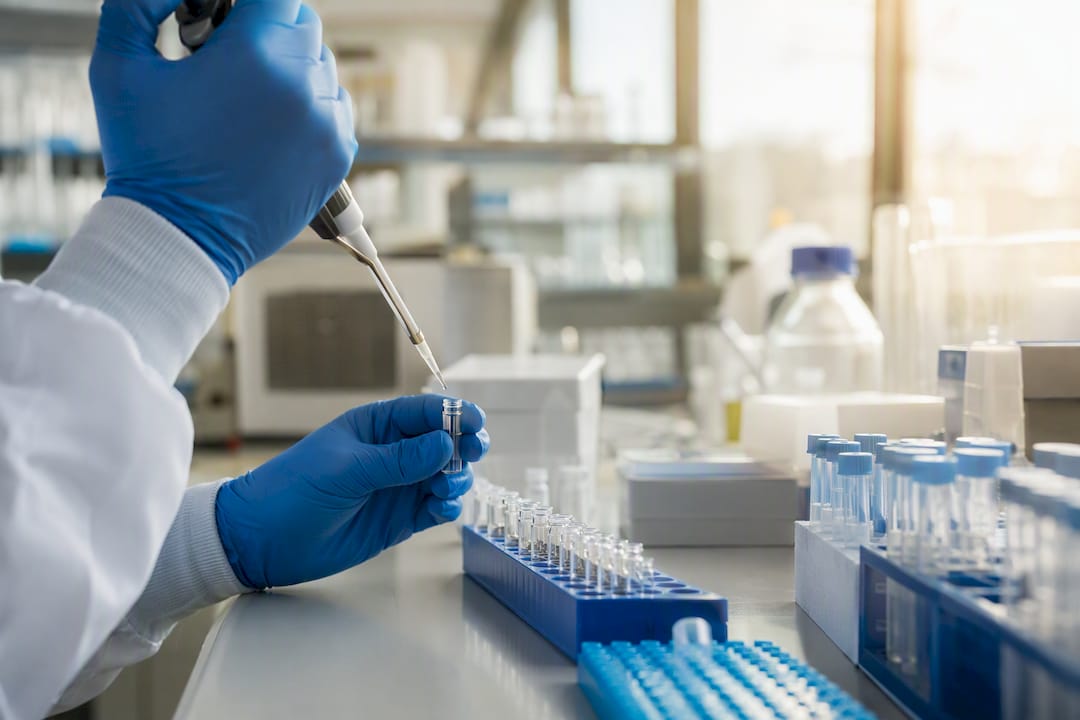
Storage and retrieval depend on freezer layout, capacity planning, and spatial indexing so a technician can locate a sample by coordinate instead of by memory. A storage location tracking setup built into your LIMS turns freezer maps into searchable data.
Transport and shipping call for documented temperature logs and chain-of-custody paperwork, especially where regulatory traceability requirements apply to the sample category.
Disposal and retention need a defined retention period tied to the test type, plus a documented disposal method that can be produced on demand.
| Lifecycle Phase | Minimum Requirement |
|---|---|
| Intake/accessioning | Unique ID, source, date/time, collector, test request |
| Labeling | Material-appropriate label, applied before storage |
| Processing/aliquoting | Recorded lineage, volumes, and performer |
| Storage | Spatial index, capacity plan, freeze/thaw log |
| Transport | Temperature log, custody documentation |
| Disposal | Retention period honored, disposal method recorded |
Should You Use a Single-Tube or Multi-Vial Tracking Model?
The right tracking model depends on throughput and sample type, not personal preference. A single-tube model, one sample equals one tracked unit, works well for low-volume research labs or programs where each specimen undergoes one test and moves on. It's simpler to audit and cheaper to label.
A multi-vial model, where one collection generates several tracked aliquots with parent-child relationships, fits diagnostic and genetic testing labs running multiple assays from a single draw. It demands more disciplined lineage tracking but pays off in flexibility when a second test gets ordered later.
- Single-tube: faster to implement, weaker for labs running parallel assays
- Multi-vial: better for PGx and genetic panels, requires stricter aliquot governance
- Barcode/QR labels: choose cryo-compatible adhesive and print stock for cold storage, not standard office labels
- Freezer mapping: spatial-location software beats paper freezer maps at any real scale
- Integration: instrument auto-capture and API-based links to your ELN or LIMS cut manual transcription, a benefit Benchling's R&D guidance highlights repeatedly for research pipelines
| Model | Best Fit | Main Tradeoff |
|---|---|---|
| Single-tube | Low-volume, single-assay workflows | Limited flexibility for follow-up testing |
| Multi-vial | Diagnostic and genetic panels | Requires stricter lineage discipline |
How Do You Roll Out a New Sample Management System?
Rolling out a digital system works best as a sequence, not a single cutover weekend.
- Pilot one accessioning workflow before touching anything else. Pick your highest-volume intake point and prove the process there first.
- Map legacy IDs to new GUIDs during data migration so historical samples remain searchable instead of orphaned.
- Train collection sites and lab staff separately, since their touchpoints with the system differ, and document both training paths.
- Build a governance framework: assign roles, set permissions, enable audit logs, and name someone who owns each KPI.
- Validate before full rollout using an audit-readiness checklist that mirrors what an actual inspector would ask for.
Pro Tip: Start small on purpose. Labs that try to migrate every legacy sample and train every site in the same week are the ones that end up with duplicate IDs and confused technicians by week three.
Start implementing before your sample volume grows past what manual processes can handle. Retrofitting a tracking system onto a backlog of thousands of unindexed samples is far costlier than building it in from day one, a pattern the SLAS guidance documents repeatedly. Governance details, including audit trails and role-based permissions, matter enough to warrant their own review; see how LIMS compliance features typically map to inspection requirements.
What Are the Most Common Sample Management Pitfalls?
Three pitfalls account for most implementation failures: poor label quality that doesn't survive freeze cycles, incomplete intake forms that leave required fields blank, and skipped training that leaves staff improvising under pressure.
The fix for each is enforcement, not more documentation. Build validation rules that block incomplete accessioning records from saving. Run label durability tests before committing to a print vendor. Schedule recurring audits instead of one-time training sessions that fade from memory in a month.
Track these KPIs monthly to know whether your system is actually working:
- Sample loss rate (samples unaccounted for per batch)
- Accession turnaround time (intake to system-ready status)
- Rejected-sample rate at intake
- Freezer utilization versus capacity
- Audit findings per inspection cycle
How Labrynix Supports Sample Management for Genetic and Molecular Labs
Labrynix builds accessioning, lineage tracking, freezer and location management, and chain-of-custody documentation into a single connected LIMS workflow, rather than leaving labs to stitch spreadsheets and freezer maps together after the fact.
The platform includes:
- Role-based access controls and audit logs for every sample touchpoint
- HIPAA-conscious workflow design across intake, storage, and reporting
- PGx report generation and billing-status visibility tied to sample records
- Integration endpoints for HL7, FHIR, and API-based connections to instruments and EMR/EHR systems
- AI-assisted workflow insights that flag bottlenecks in accessioning or review queues
A genetic testing lab running multiple panels from a single draw needs lineage tracking that survives the handoff from accessioning to PGx reporting without a single manual re-entry. That's the gap most generic clinical LIMS platforms leave open.
A Practitioner's Note on What Actually Slows Labs Down
Prioritize accessioning and staff training before you touch reporting templates or dashboards. Legacy data cleanup and label durability testing take longer than anyone plans for, budget extra time for both. If your team is weighing where to start, a walkthrough of an existing accessioning workflow usually surfaces the real bottleneck faster than another planning meeting.
Get a Working Sample Management System Without Building It From Scratch
Most labs patching together spreadsheets and freezer binders eventually hit the same wall: accessioning breaks down the moment volume grows, and nobody trusts the chain-of-custody trail anymore. Labrynix was built by people who've handled genetic and molecular lab operations directly, so accessioning, aliquot lineage, freezer location tracking, and audit logs live in one connected system instead of five disconnected tools.

For labs running PGx panels or hereditary testing programs, the genetic testing lab software page walks through how accessioning connects directly to report generation and billing visibility. If reporting is your immediate pain point rather than full LIMS replacement, the PGx reporting module covers that path on its own. Either way, request a walkthrough to see how your current accessioning process would map onto the platform before committing to anything.
Frequently Asked Questions
What is the difference between sample management and sample tracking? Sample management covers the entire lifecycle, intake, processing, storage, and disposal, along with the SOPs governing it. Sample tracking is the specific act of knowing where a sample is and what's happened to it at any given moment, usually through barcode scans or a LIMS record.
How do labs prevent chain-of-custody gaps? Chain-of-custody gaps close when every handoff gets logged automatically rather than manually. Barcode scanning at each transfer point, combined with audit logs in a LIMS, removes the reliance on someone remembering to write down a timestamp.
What metadata should every sample record include at intake? At minimum: a unique sample ID, source or patient identifier, collection date and time, the collector's name, and the specific test requested. Missing any of these fields at accessioning creates downstream ambiguity that's hard to resolve later.
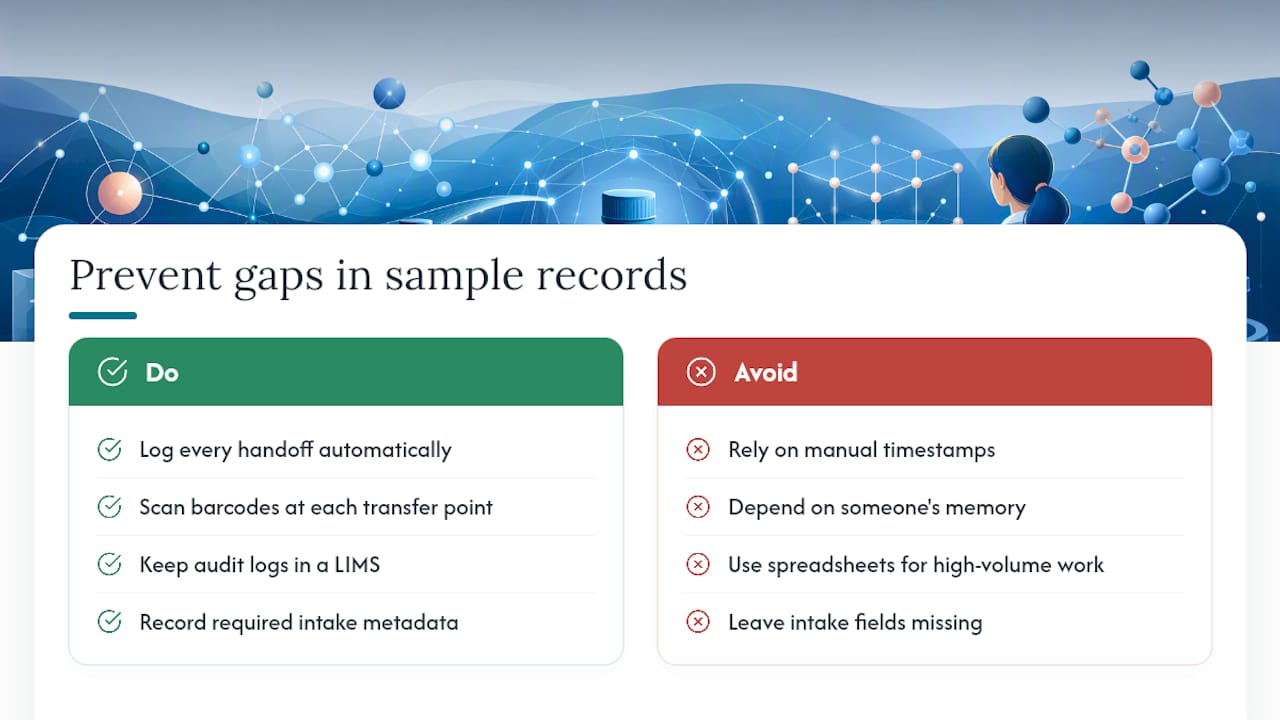
Is a spreadsheet ever good enough for sample management? A spreadsheet can work temporarily for very small, low-volume operations, but it breaks down fast once sample counts grow or multiple staff members need simultaneous access. Most labs outgrow spreadsheets well before they expect to.